How To Create A Workflow: 7 Simple Steps

Preventing Project Pandemonium: Consistent workflows help avoid project delays, errors, and budget overages, which also helps you as the project manager make sure projects meet their intended outcomes without unexpected pitfalls.
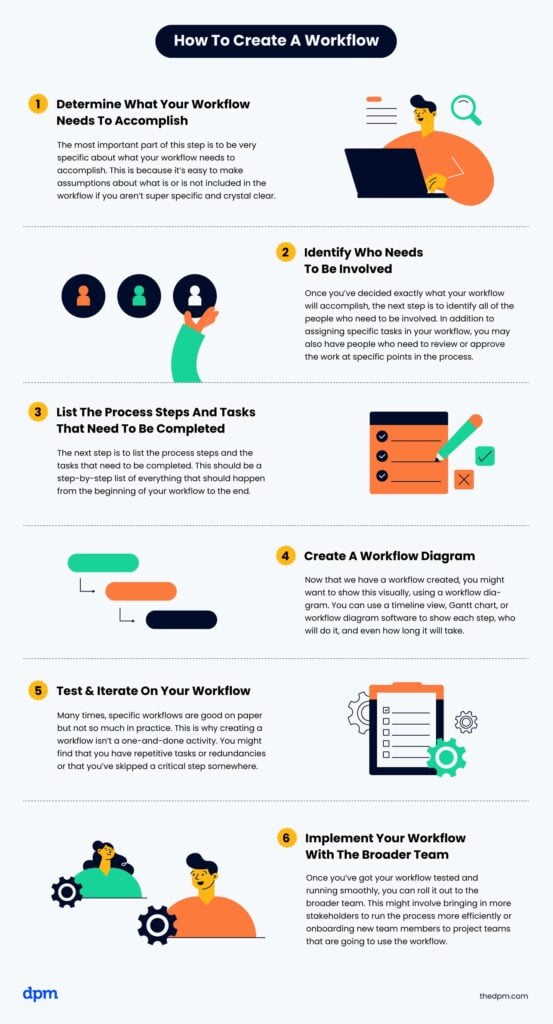
Step-by-Step: Creating a workflow is a workflow in and of itself: you define a goal, identify who's involved, list the steps, create a workflow diagram, test & iterate, and then implement it.
Software Saves the Day: Workflow management software is the easiest way to create and maintain organized workflows, and it provides a structured approach to managing complex project processes.
Without set workflows that outline how you and your team will complete work throughout the project, you can expect delays, errors and quality issues, scope creep, and budget overages.
Your teams needs consistent, repeatable workflows (typically created and managed in workflow management software) to deliver project work that achieves its intended outcome. In this article, I'll cover how to create a workflow and provide some best practices for getting it right.
What Is A Workflow?
A workflow is a repeatable series of steps or activities that need to be completed in order to achieve a larger outcome. For example, when creating a new website, the workflow process involves designing the layout, writing the code, testing the site, and launching it live.
Using digital workflows, project managers can keep projects on track and make sure tasks are completed as efficiently as possible. Visual workflows make use of flowcharts or diagrams that show the process steps each work item will go through to be considered done.
Workflows differ from business processes in that they represent the specific, sequential tasks within the broader processes that achieve organizational goals.
How To Create A Workflow
Here are some things to keep in mind when designing a workflow.
1. Determine What You Need To Accomplish
When you're planning your workflow, be very specific about what it needs to accomplish. It’s very easy for team members and stakeholders to make assumptions about what is or is not included in the workflow if you aren’t super specific and crystal clear.
For example, if you’re creating a workflow for writing blog posts, be specific and communicate whether that workflow is just for drafting the content or whether it also includes supporting graphics and uploading and sharing the blog post on social media.
You might handle all of these steps within one workflow, or you might have separate workflows for each part—what matters most is that it's clear for the team.

2. Identify Who Needs To Be Involved
Identify all of the people who need to be involved. Include the people who will be doing the work, as well as reviewers and approvers.
Defining an approval process is also a key part of creating the workflow. Without this, you'll end up with bottlenecks or other issues that can break your process.
One easy way to identify everyone who needs to be involved is to create and fill out a RACI diagram. You might not be able to do this until you’ve listed out all of the process steps (see step three below), but it’s a good idea to have this in place before launching your workflow.
3. List The Process Steps And Tasks
List the process steps and the tasks that need to be completed. This is a step-by-step list of everything that should happen from the beginning of your workflow to the end.
Let’s use our blog example again. If our workflow is for publishing and promoting a blog post, here’s what it might look like to write out the workflow steps (and which marketing resources need to be involved):
- Choose a topic for your blog post
- Get approval from the marketing director to proceed with that topic
- Write a content brief and content outline
- Provide creative direction and sizing for any images or illustrations needed
- Assign a writer to the blog post
- Assign a graphic designer to the blog post
- The writer creates the first draft of the blog post
- The graphic designer provides required images
- An editor reviews the blog post draft and images
- The writer makes copy edits
- The graphic designer makes edits to the images
- The editor approves the copy and images
- A marketing coordinator uploads the content to the website CMS
- The editor reviews and approves the post on the staging site
- The marketing coordinator sets the post live
- The copywriter creates a caption for social media
- The editor reviews and approves the caption
- The marketing coordinator posts the caption and link to the blog post on LinkedIn and Facebook.
4. Create A Workflow Diagram
It can be helpful to represent your workflow visually, using a workflow diagram. You can use a timeline view, Gantt chart, or workflow diagram software (such as ProcessMaker or one of its alternatives) to show each step, who will do it, and how long it will take.
Mapping workflows visually is also a good way to streamline communication about who will do what and when.
5. Test & Iterate On Your Workflow
Your workflow might look great on paper, but it can fail when you put it into practice. Developing an iterative workflow process isn’t a one-and-done activity. Once you start using it, you might find repetitive tasks or redundancies or that you’ve skipped a critical step somewhere.
Test the new workflow and get feedback from the team about what’s working and what’s not. If the process breaks, takes too long, or is confusing, a test will help you troubleshoot and make adjustments to improve it.
Even if your initial execution is successful, you can always continue to optimize your workflow it as team members use the workflow and work together.
6. Implement Your Workflow With The Broader Team
Once you’ve got your workflow tested and running smoothly, roll it out to the broader team. This might involve bringing in more stakeholders to run the workflow more efficiently or onboarding new team members who will use the project management workflow.
If you're using a number of different types of workflow management or the workflow is a new process, consider using your flowchart or a short tutorial to help people remember what happens and in what order.
Tips For Creating Workflows
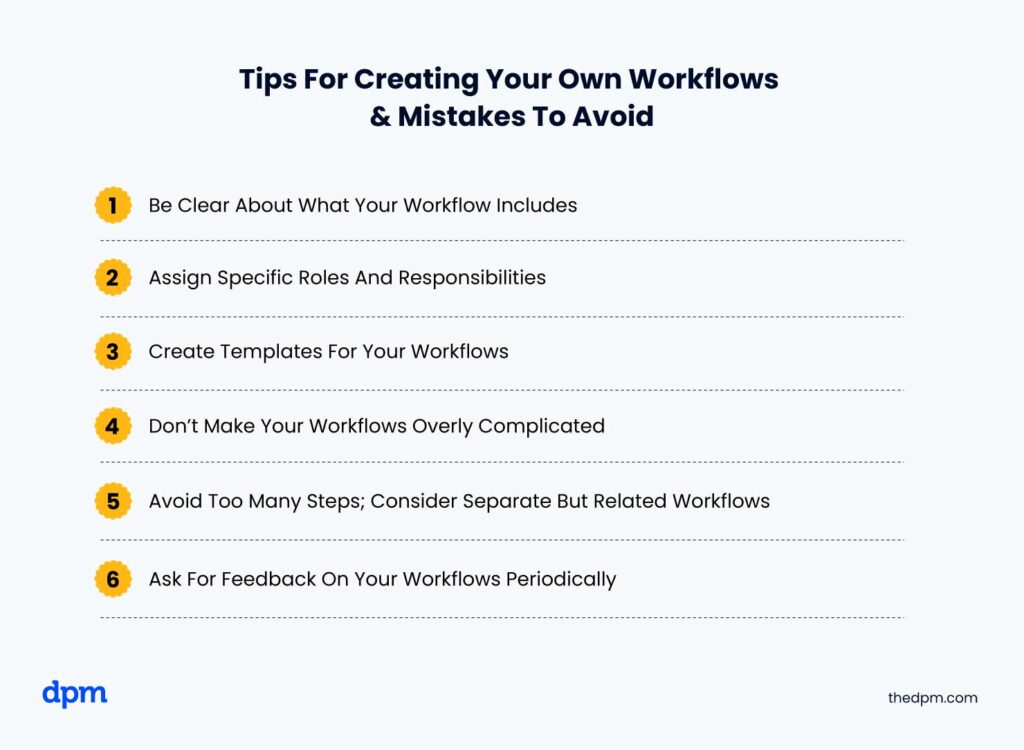
Here are some tips for creating workflows for your team:
1. Be Clear About What Your Workflow Includes
Be extremely clear about what the workflow does and does not include.
If you need another example, consider email marketing. You may have one workflow for creating email copy, another for designing the email layout, and a third for sending the email and monitoring analytics. All of these workflows may need to run each and every time you send an email.
Don't forget to consider the resources that you'll need—the marketing resource management process can be tricky. Lucking, marketing resource management software can help.
2. Assign Specific Roles And Responsibilities
Make sure each role or task is being completed by a single person. It’s okay to ask someone to review work or contribute ideas, but one person needs to own the task. If too many people are involved, the work never gets done because team members assume someone else will do it.
If your marketing director and your managing editor are responsible for putting together the content calendar and assigning writers, break this task into two separate areas.
The marketing director should develop the content calendar, and the managing editor should review it and provide feedback before assigning writers.
3. Create Templates For Your Workflows
As you start to amass workflows that you use regularly, save time by building templates. In most popular project management software tools, you can build out entire projects with multiple workflows.
The more detail you put into your templates, the easier it is to set up new projects and get people working.
Some workflows will need to be tweaked for specific projects. Maybe a timeline is being shortened because a client paid a rush fee or a stakeholder prioritized a specific deliverable—keep your template adjustable to accommodate these changes without creating a new workflow each time.
4. Don’t Make Your Workflows Overly Complicated
A workflow is only good as long as people are using it! If you create a complicated workflow that no one knows how to use, you also won't know when it's broken. To prevent this, you can start by learning how to make a flowchart.
Complicated workflows can happen if you use a lot of integrations and automations to run your workflow. These features can help manage a complex workflow and save time, but it's most important that everyone involved can understands it, which is why you should learn flowchart creation best practices.
5. Avoid Too Many Steps
Workflows with too many steps are unwieldy to manage. Consider creating separate but related workflows. A good example of this is onboarding a new employee. This is a pretty standard business process or workflow with a lot of people and steps involved.
You might have one workflow for human resources to handle all of the paperwork, and another for the internal IT person creating user accounts for all of your systems and tools like Slack, email, your project management tool, and any design, development, or creative software.
You would also need another workflow for meeting the team and training on internal processes. This could involve setting up schedules for the first day and first week.
Find more examples of workflows here.
6. Ask For Feedback
Testing and iterating goes for new workflows as well as existing ones. Check in with your teams periodically to make sure the workflow still meets their needs. As processes change, look at how you've configured your workflows and make adjustments to better support everyone’s needs.
Join Us For More Workflow Management Insights
If you’re looking for more insights into workflow management best practices, join our active community of project managers, where you can discuss workflows with other project managers like you.

